


*This shop has been compensated by Collective Bias, Inc. and its advertiser. All opinions are mine alone. #SienteGlade #CollectiveBias
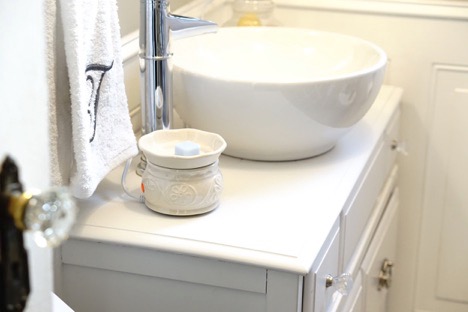
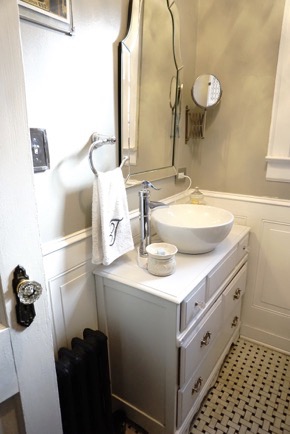
It’s a new year. Time to take down the holiday decor and deal with old man winter. I love to freshen up the house and do little retouches on things that need well- freshening up. My bathroom vanity is one of the DIY projects I love most in my home. But with a family of three using the space daily, wear and tear shows on white furniture. Toothpaste stains, mouthwash and more.
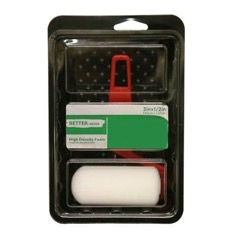
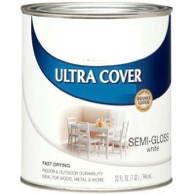
Many people hate the thought of painting, but to touch up this vanity top was quite simple. Originally, the vanity was spray painted in a semi gloss white color. Spray painting can get messy and with a child and pet in the home, it was definitely not the way to go. I decided to buy a small can of the same paint but in a can. Many people don’t know that basic spray paint colors also come in paint cans instead of the spray can. I paid under $4 for the small can and still have left over. I also purchased a tiny paint roller for about $3. With a fine brush, I went around the faucet and bowl sink. I didn’t remove anything. I painted two coats and it was dry in less than an hour. I also touched up a vintage tissue holder. Both look great and you’d never know they were retouched. Super simple and on a dime.
Want to touch up (or paint) a white piece of furniture? Here’s how…
 You will need:
- Small can of paint (chalk paint is great or spray/canned paint)
- Small paint roller
- Small tray for paint
- Painter’s tape (to avoid errors)
- Old cloth or plastic to protect flooring or other furniture
D.I.Y. Steps
1. Wipe down furniture piece with a dry cloth (removes dust)
2. Prepare for your project by carefully setting cloth on flooring and painters tape; etc.
3. If you are painting the piece, use a primer first and allow to dry
4. If you are touching up, simply dip roller into paint, remove excess and get to painting!
5. Allow some time to dry after the first coat, add a second coat and only if necessary, add a third
6. After the paint is dry, you’re good to go! A fresh coat of paint can go a long way 🙂
Next, I changed out the holiday hand towel and replaced it for a nice monogram hand towel. And last, to add extra freshness (or as my abuela would say add “Frescura y Pureza”) I plugged in my favorite clean linen scented wax melts.

Nothing says “clean home” to me more than the smell of fresh linen. For years, the scent is what has filled my home after clean up time. It just adds the perfect touch. Recently, I started using these wax melts by Glade® (which totally changed up my game).
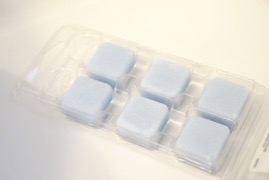
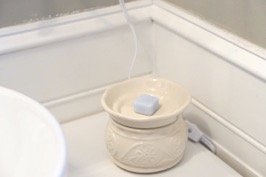
Not only do the little wax cubes fill my home with a pleasant fragrance but they last long, too. Anyone who has explored different methods of making a space smell nice knows that’s a good thing. Especially when you can get up to 16 hours of a fresh scent. Plus, they are easy to use- just plug in the wax melts warmer, drop a little cube on it and let it melt!
Top off your home’s new look, by melting a Clean Linen® Wax Melt. It’s the perfect compliment to make you feel fresh and new this new year.
For more info on Glade®, follow them via Twitter, Facebook and take advantage of these coupons too!


